Docofossor Getting Started
-
Intro
-
Preparing terrain data
-
Importing the DTM
-
Visualising the DTM
-
Saving your results
Information
| Primary software used | Grasshopper |
| Course | Docofossor Getting Started |
| Primary subject | Parametric Modeling |
| Secondary subject | 3D modelling |
| Level | Beginner |
| Last updated | September 14, 2025 |
| Keywords |
Responsible
| Teacher | |
| Faculty |
Docofossor Getting Started 0/4
Docofossor Getting Started
Docofossor is a terrain modeling plugin for Rhino + Grasshopper. It enables easy editing of cut and fill operations for landscape architecture and civil engineering.
Docofossor is designed for parametric terrain modeling and digital landscape fabrication. This getting started tutorial will guide you through Docofossor’s core features, teaching you to create parametric terrain models in Grasshopper. By the end of this tutorial, you’ll be able to import topographic data, visualize it in the Rhino viewport and save your work in Rhino and as a digital terrain model.
Whether you’re planning earthwork operations, designing landscape interventions, or exploring digital fabrication workflows, this tutorial provides the first steps for leveraging Docofossor’s capabilities in your projects.

Prior skills
This tutorial assumes prior knowlegde of Rhino and Grasshopper. It is highly recommende to follow ‘getting started’ tutorials if you are new to these softwares. At a miminum, have a look at these two tutorials:
Docofossor Getting Started 1/4
Preparing terrain datalink copied
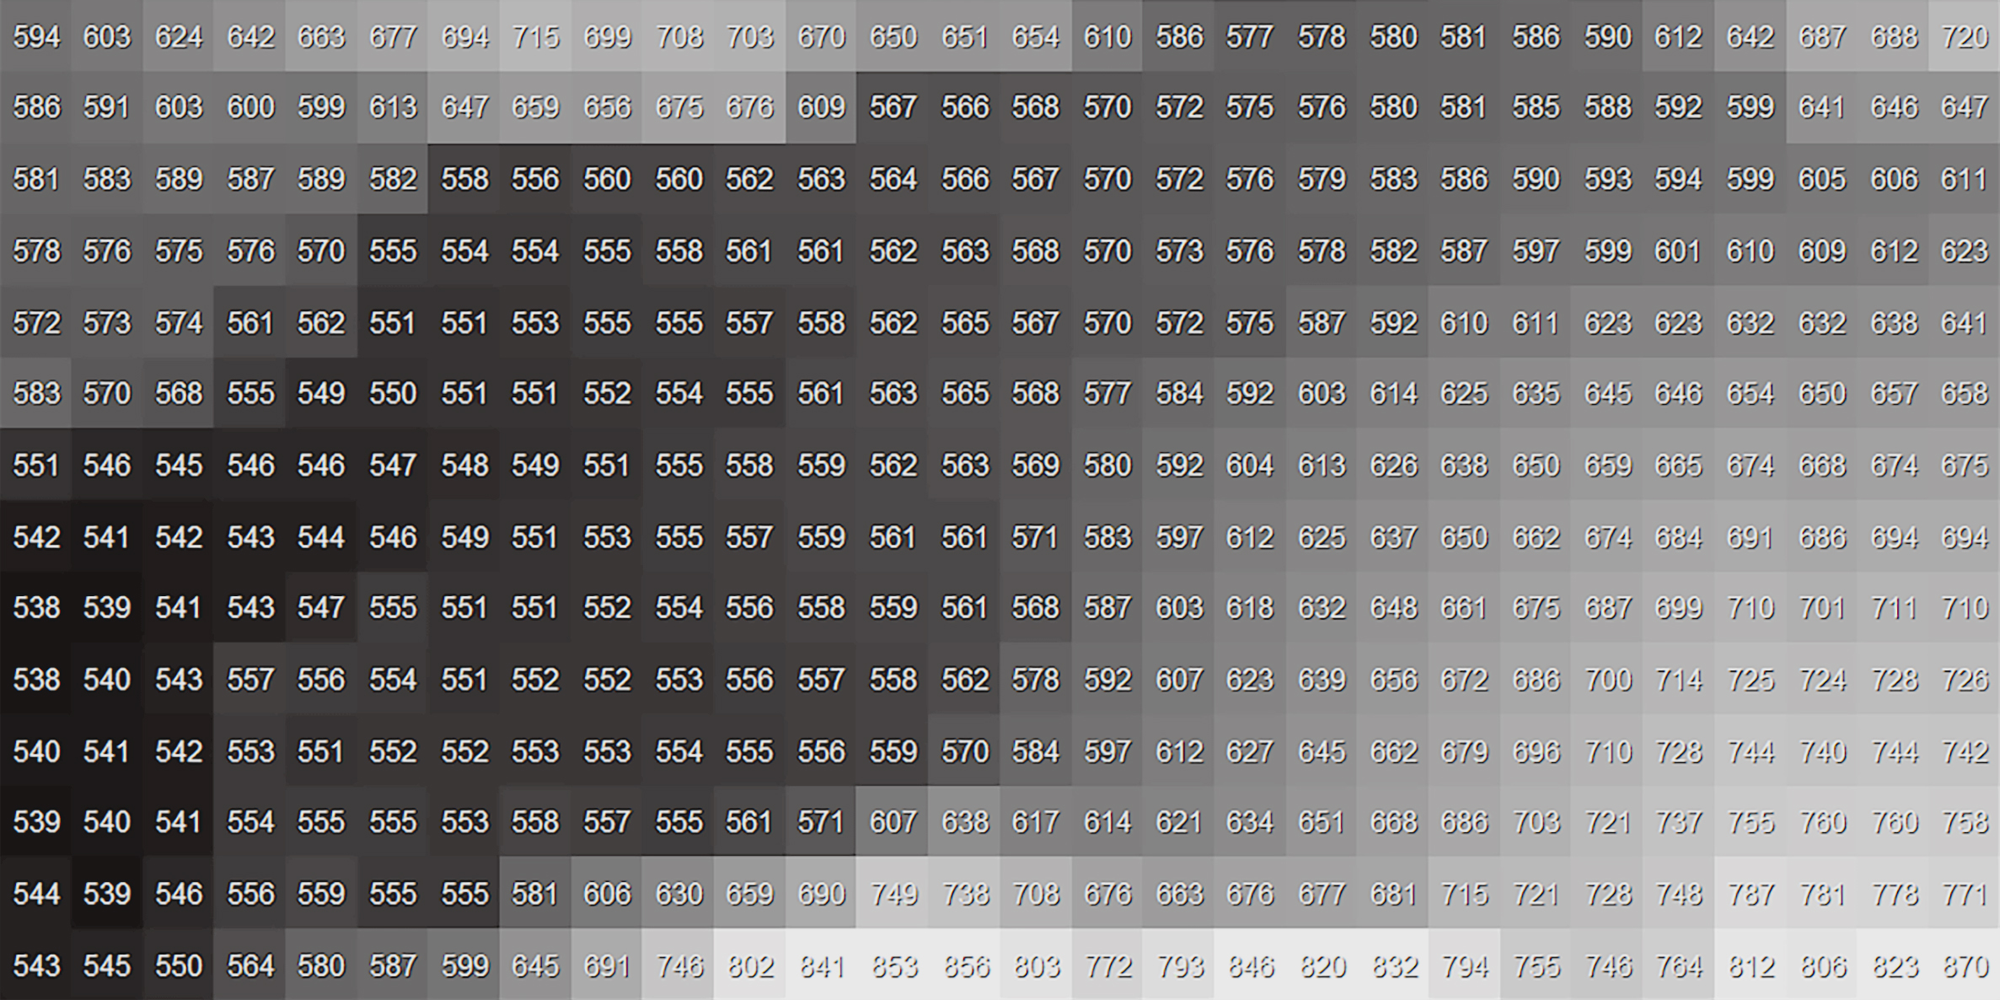
The terrain modelling approach of Docofossor is based around DTM’s (Digital Terrain Model) in raster format. This is a grid-based digital representation of ground surface elevations that shows the bare earth terrain where vegetation, buildings, and other surface features are removed.
Downloading data
You can prepare terrain data for Docofossor by downloading elevation datasets from sources like government geoportals, OpenTopography, AHN, or PDOK, then using QGIS to process and export the data as ASC grid files (recommended) or XYZ format – ensuring that XYZ point data falls on a regular rectangular grid structure for proper import into Docofossor’s grid-based system.
Docofossor can handle the *.ASC and *.XYZ file formats for loading external terrain data.
- ASC Format (recommended): ASCII grid file with a 6-line header (ncols, nrows, coordinates, cellsize, NODATA_value) followed by rows of elevation values in a regular grid structure.
- XYZ Format: Simple text file with each line containing X, Y, Z coordinates (easting, northing, elevation) as space or comma-separated values, useful for point-based elevation data. Note that the data has to fall on a regular and rectangular grid.
If you don’t have your own terrain data, you can download the example DTM below.
Background information: The [df] list
Internally, Docofossor uses a custom data structure designed for efficient 2.5D distance field calculations and boolean operations on terrain data. This format organizes topographic information into a single list (df[]) that represents a regular quad grid derived from Digital Terrain Model (DTM).
The list begins with a 10-element dimension header (dim[]) containing essential grid properties: number of columns and rows, local and global origin coordinates, and cell sizes in X and Y directions. Following this header, elevation values (lz[]) are stored in column-major order starting from the bottom-left corner of the grid, with each value representing the Z-coordinate at the corresponding grid cell center.
This format enables Docofossor to perform parametric transformations while maintaining spatial relationships and coordinate system information necessary for accurate terrain modeling and fabrication workflows within Grasshopper.
Docofossor Getting Started 2/4
Importing the DTMlink copied
To begin working with topographic data in Docofossor, navigate to the I/O tab where you’ll find components for importing various elevation datasets. This tab contains the essential tools for bringing external terrain data into your Grasshopper workflow, including support for common formats like ASC grid files and XYZ point data.
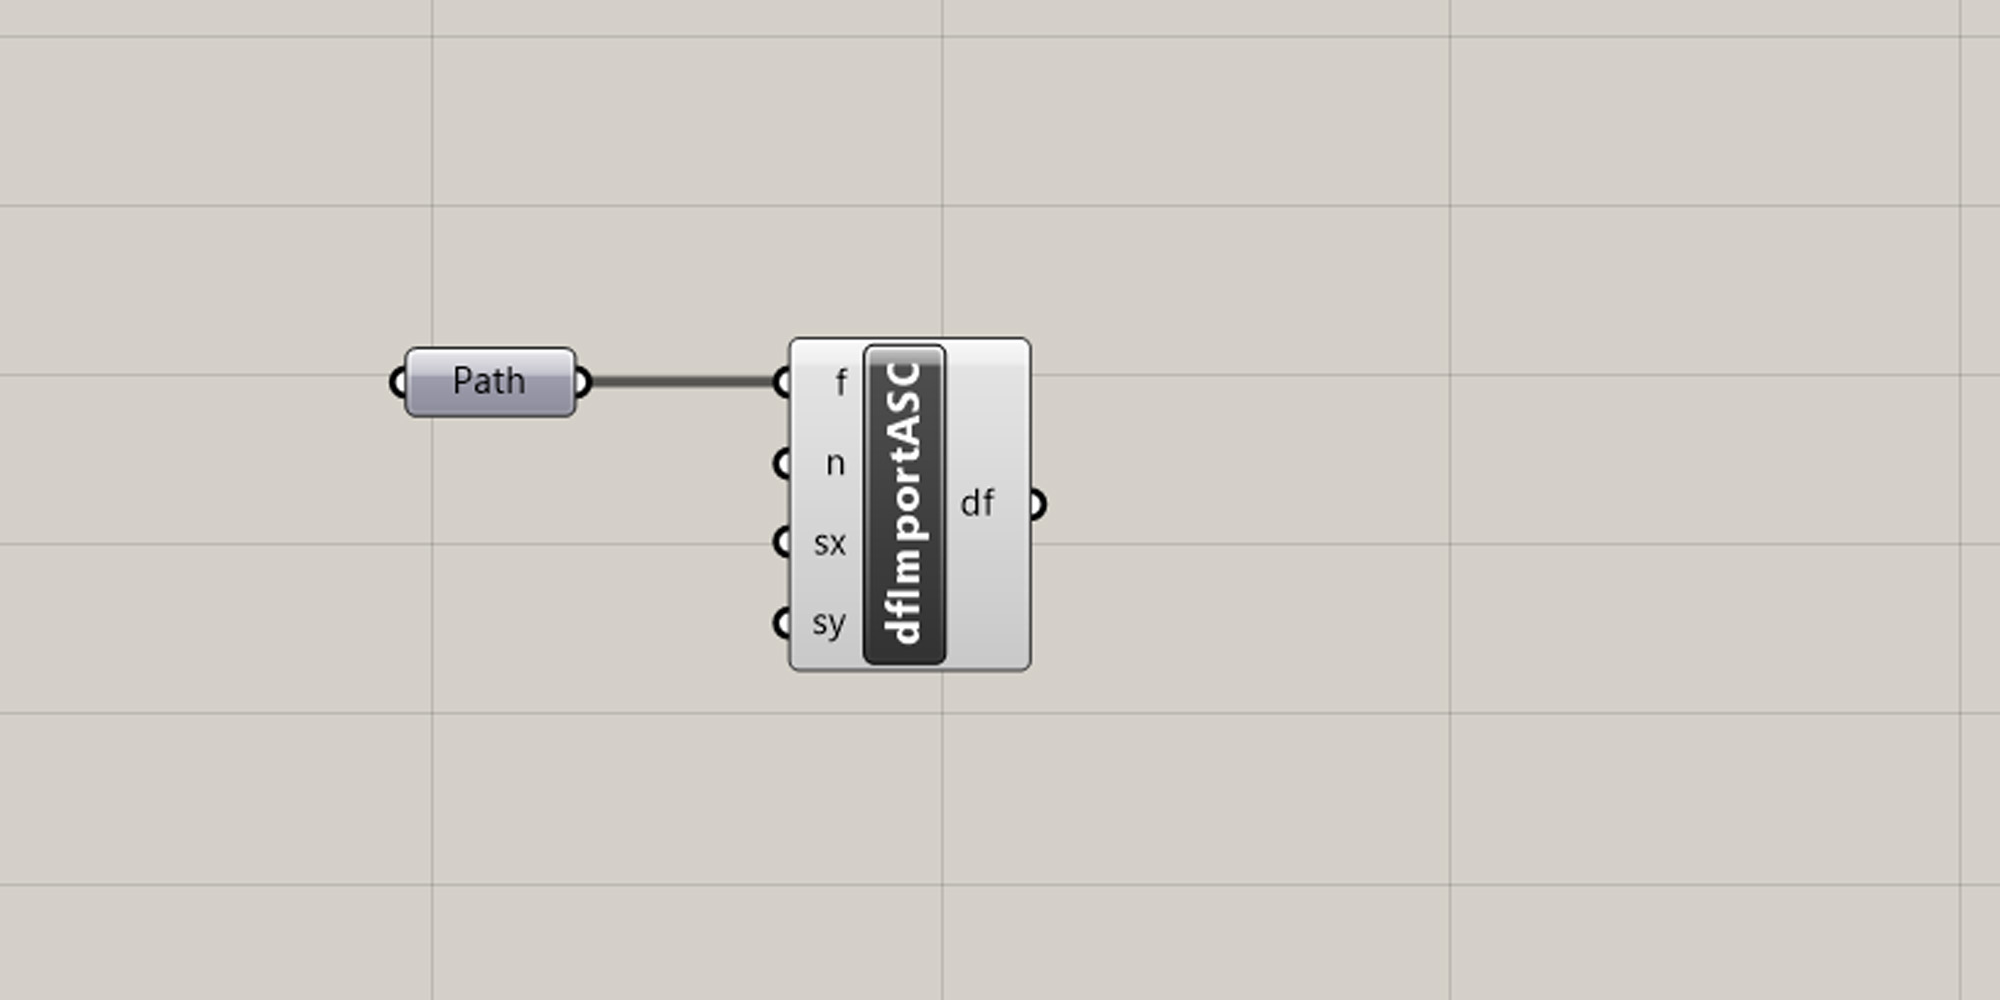
Start by adding the File path component to the canvas. Also drop in one of the import components.
Now, right-mouse-click on the Path component and click on ‘select one existing file’.
Once you have selected your DTM you can connect the Path component with the Import ASC component on the canvas. Your DTM data is now loaded into grasshopper.
Docofossor Getting Started 3/4
Visualising the DTMlink copied
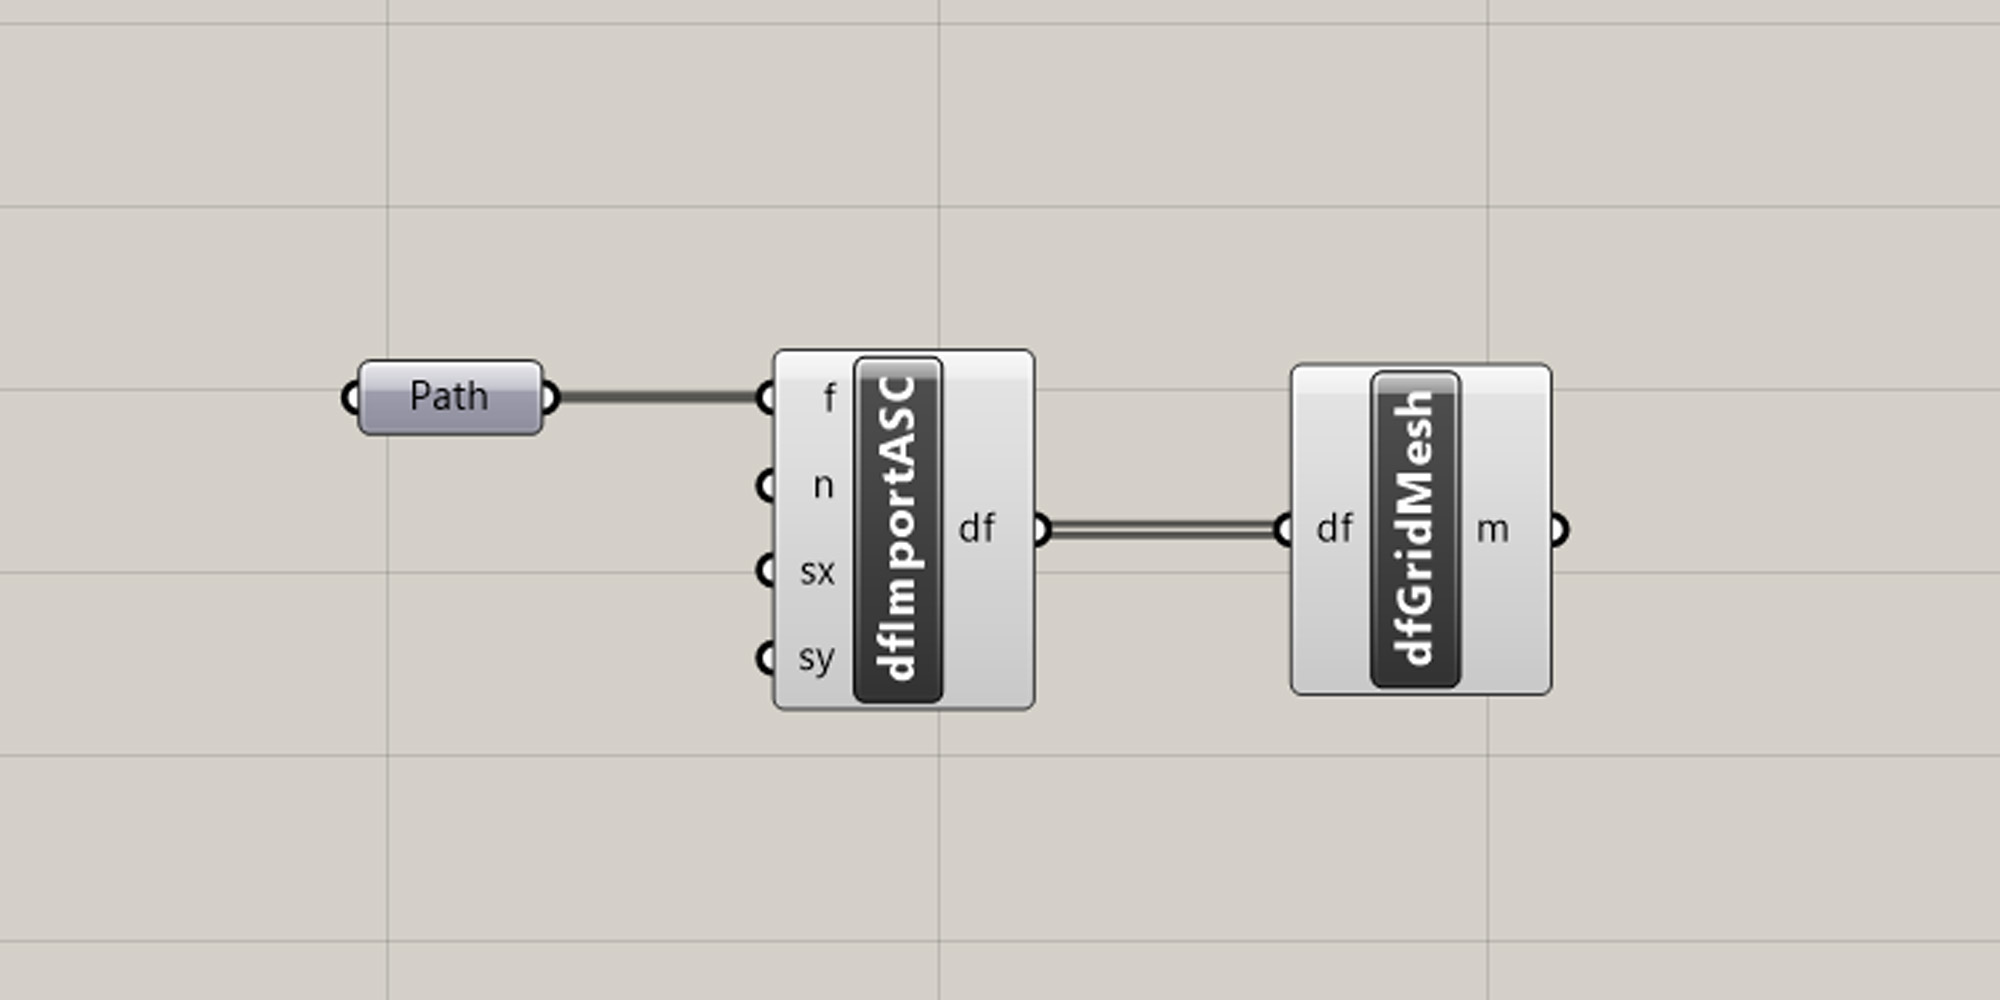
It is a good idea to always visualize the DTM through grasshopper, so you always have a visual reference of the parametric modelling operations. You can do this by adding the Grid Mesh component to the canvas and connecting the df output and input.
Once you have connected the components you will see the mesh rendered in the Rhino viewport.
Docofossor Getting Started 4/4
Saving your resultslink copied
In this Getting Started guide we have not altered our topography. That part will be covered in other tutorials. For now though, it is good to know how to save changes that you will make to a new DTM.
To save your changes, Docofossor offers several output options for different workflows. You can offcourse simply “bake” your generated mesh directly into the Rhino viewport, converting the parametric geometry into permanent Rhino objects for further modeling or visualization. However, this method does not allow future editing of the DTM using Docofossor.
A better way is to use the I/O components to export your modified terrain data to standard formats like ASC grid files or XYZ point data. This will also enably you to later import and ‘bake’ your file to Rhino, but on top of that it enables future editing with Docofossor and integration with GIS software and analysis tools.

To ‘bake’ your results to Rhino, right-mouse-click on the Grid Mesh component and select ‘Bake’.
Make sure you save the Grasshopper Document on you local drive before you export the DTM with the method mentioned below. Otherwise the export will fail as Docofossor will not know where to save the file.

To export your results as a DTM format, choose one of the export components and connect a Panel (to name your new DTM file) and a Button (to execute the export). The result will be saved in the same folder as your grasshopper document.
When you are ready to export just hit the button.
Write your feedback.
Write your feedback on "Docofossor Getting Started"".
If you're providing a specific feedback to a part of the chapter, mention which part (text, image, or video) that you have specific feedback for."Thank your for your feedback.
Your feedback has been submitted successfully and is now awaiting review. We appreciate your input and will ensure it aligns with our guidelines before it’s published.