BK Renderfarm 0/3
BK Renderfarm
TU Delft supercomputer lab to help you finish renders.
The Faculty of Architecture and the Built Environment of TU Delft has a supercomputer that is specially configured for helping you finish your renders on time called the BK Renderfarm. Any student and employee of the TU Delft are eligible for using the services of the render farm.
Why the render farm?

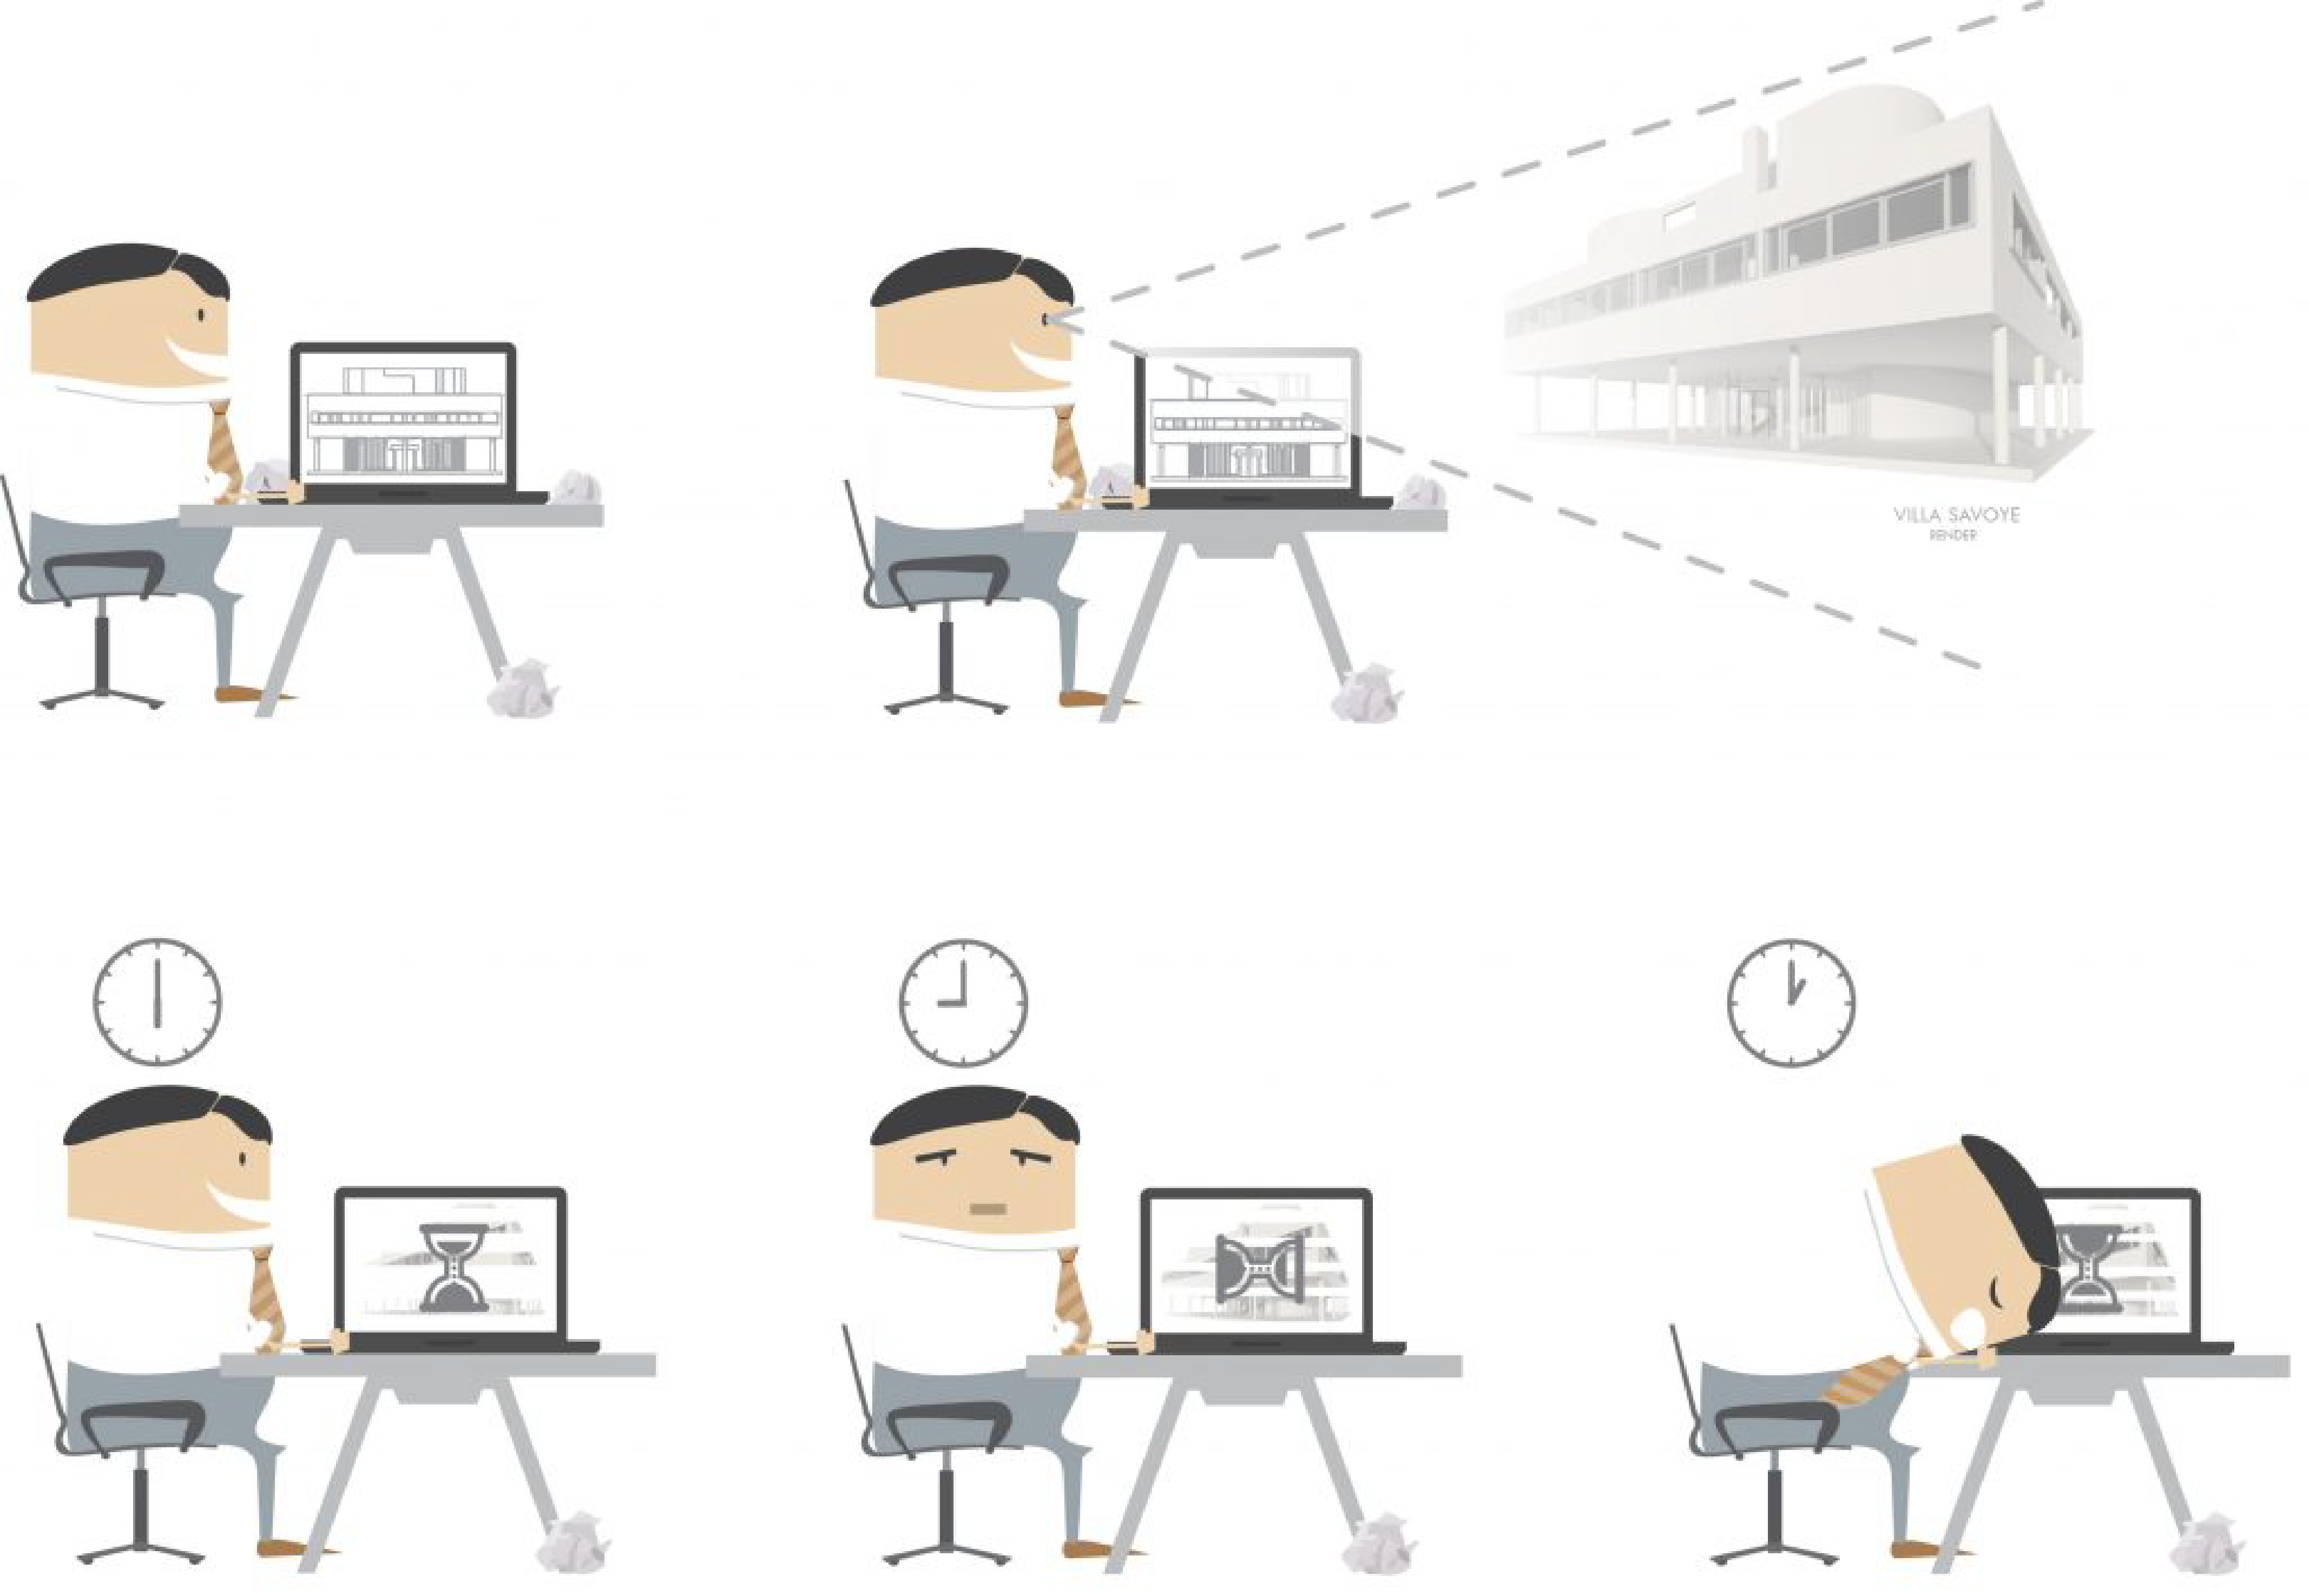
You have created a great design that you want to visualize by rendering out a picture or animation.
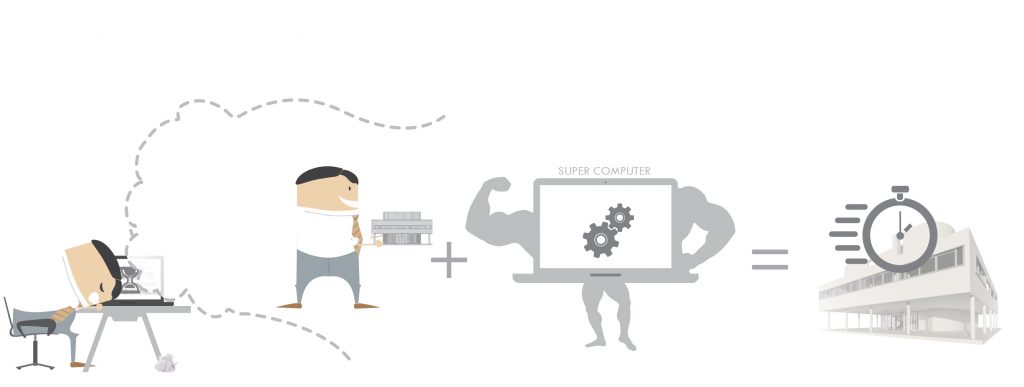
Are you endlessly waiting for your computer to finish rendering your image or animation? Rendering is a matter of raw computing power, and there is only so much available in a single computer.
You wished you could have a supercomputer that would finish the render job in no time!!! The BK Renderfarm is here to help!
You can find more information about the BK Renderfarm on the @Hok website

Render Capabilities
The BK Renderfarm currently supports Maya 2026. It should be able to render scenes from previous versions of Maya, but it may yield unexpected results.
Currently, the following render engines are supported:
- Arnold for Maya
- Maya Software
- Mental Ray for Maya (only Maya 2018)
- RenderMan for Maya
- Cycles (Blender)
BK Renderfarm 1/3
Informationlink copied
Using the renderfarm
To use the renderfarm you need:
- A good connection with the eduroam network. If you are not located on TU campus at the time, you could also connect to eduroam through eduVPN.
- A connection with the renderfarm service. Go to https://renderfarm.bk.tudelft.nl/
- At this point, the render farm can only accept Maya, Blender, Houdini, and ENVI-met projects*. If you have designed your project in another 3D-modeling software such as Sketchup, Rhino or Revit do not worry you can import your files.
Due to changes in the licensing it is not possible to run ENVI-met simulations on the BK Renderfarm. However, we have other options if you need calculation power for extensive simulations. Contact @Hok Student ICT Support.
Background infromation
TOI started the render farm project in 2005. It’s currently still in use and still ‘for free’. A render farm is a number of (dedicated) computers that render 2D images or image sequences from 3D computer models. In this case the render farm is configured to render Maya scenes. It consists of a number of render nodes (computers with two processors and lots of memory) and a ‘master’ that distributes jobs and holds all the data. Specialized software enables complex jobs to be split in smaller jobs, merging the results automatically when finished.
Technical Details
We’re adding new machines to the BK Renderfarm on a yearly basis and older machines are then removed. The current composition is:
| # | CPU | Speed | Memory | Year added | |||
| 1 | dual 10-core Xeon E5-2680v2 | 2.80 GHz | 64GB | 2014 | |||
| 2 | dual 12-core Xeon E5-2680v3 | 2.50 GHz | 128GB | 2015 | |||
| 1 | dual 14-core Xeon E5-2680v4 | 2.40 GHz | 128GB | 2016 | |||
| 1 | dual 28-core AMD EPYC 7453 | 2.75 GHz | 256GB | 2023 | |||
| # | GPU | Cuda Cores | Cuda version, driver | Video Memory | Year added | ||
| 1 | dual NVIDIA A40 | 21.500 | 12.2, 537.13 | 96GB | 2023 | ||
The BK Renderfarm is controlled by one master node (dispatcher) virtual machine. If you would like to make use of the BK Renderfarm, please contact @Hok ICT support.
Software
We currently use Muster from Virtual Vertex to manage the render farm. The servers run Windows Server 2019 Datacenter.
BK Renderfarm 2/3
Tutorialslink copied
This is an overview of the BK Renderfarm tutorial that help you use the render farm, create amazing images for your project and run heavy simulations.
BK Renderfarm 3/3
FAQ Renderfarmlink copied
Note that you must be connected to the TU Delft network. If you are outside the TU Delft network, you can use VPN to connect to the TU Delft network.
Mapping a Netwrok Drive
Question: How do I map a network drive to the render farm?
The steps to connect to the network of the renderfarm are explained in the tutorial ‘Transferring files to the BK Renderfarm’. The tutorial explains these steps for both Windows and MaC OS X.
Image slicing
Question: What is image slicing?
Image slicing splits the image in several (vertical) parts. This enables the images to be rendered on several computers, preferably in parallel. This should speed up the render considerably when rendering large images.
Image slicing is not very useful when the render finishes within a few minutes. The time spent on ‘overhead’ is probably larger than the gain.
If the Final Gather or Global Illumination stage of your render takes takes most of the rendering time, slicing your image will not be very effective: this complete stage has to be done for each slice. Slicing only yields significant gain in render time when the final rendering stage is the biggest part of your render.
Question: What are the limitations with image slicing?
Image slicing cannot be used when you submit a job with more than one renderable camera (ie: more than one camera selected in the render interface). If you want to use slicing in this case, you should create multiple scenes, each with only one renderable camera and submit each job individualy.
Glow: Image slicing should not be used when using ‘Glow’. Alternatively you can add glow using Photoshop and a low-res mask.
Special files
Question: How about particle caches, furDescriptors, image sequence textures, etc?
Special files will not be published automatically by the renderfarm connector script. Some examples:
- particleCache files from baked particles. (Baking is required)
- furDescriptors: UV textures to control fur
- image sequences for file textures
So these files have to be copied manually. Proceed as follows:
- Publish your project the normal way. Your project structure, scene files and most textures are copied to the renderfarm server.
- Open your file explorer and browse to your folder on the renderfarm server (on the mapped network drive)
- copy any file that would not be copied automatically (as mentioned above) from your local project folders and copy them to the corresponding folders of the project on the renderfarm server.
- You can now proceed to submit the render job.
IES/Elumdat files
Question: How about IES/Elumdat files?
There’s a problem with IES-files: the location (relative to the project structure) is not re-evaluated by Maya when opening the scene. The renderfarm will thus be unable to locate these files, because the location is still pointing to the absolute location on your computer. This is a confirmed bug/issue in Maya (bug# 347506).
- Download the “Fix IES location” MEL-script below and place it in the MEL directory of your project, named toi_fixIES.mel.
- Make sure all your IES-files are in the sourceimages folder of your project. Do NOT place them in sub-directories.
- enter toi_fixIES() as a pre-render MEL command in your render settings.
As soon as the renderfarm loads your scene, it will execute the toi_fixIES() command before rendering (loaded from the toi_fixIES.mel script in your projects MEL folder). This will fix the file locations for all lightProfile nodes in your scene.
Note that your ies-files and MEL-script should be automatically published by the renderfarm connector.
Multiple cameras
Question: How can you render with multiple cameras using slicing?
When using image slicing, you cannot render multiple camera’s in one job. There are two possibilities:
- You can drop using slicing and render each frame in one go.
- You can create multiple jobs
Skip slicing:
The biggest drawback is that the will be no rendering done in parallel. The job consists of a single frame being rendered from multiple camera’s. The renderfarm will treat this a a single ‘chunk’, so there will be only one server processing it.
Multiple jobs:
As you have to submit this as multiple jobs, you obviously have to create multiple scene files. The cleanest way is to export each camera to a separate file and reference the scene-file with your 3D-model (w/o the renderable cameras) in each scene with a camera. You could also create multiple copies of your scene file and make a different camera renderable in each copy. This will obviously create a lot of redundant data and could take up quite some storage space.
Write your feedback.
Write your feedback on "BK Renderfarm"".
If you're providing a specific feedback to a part of the chapter, mention which part (text, image, or video) that you have specific feedback for."Thank your for your feedback.
Your feedback has been submitted successfully and is now awaiting review. We appreciate your input and will ensure it aligns with our guidelines before it’s published.
